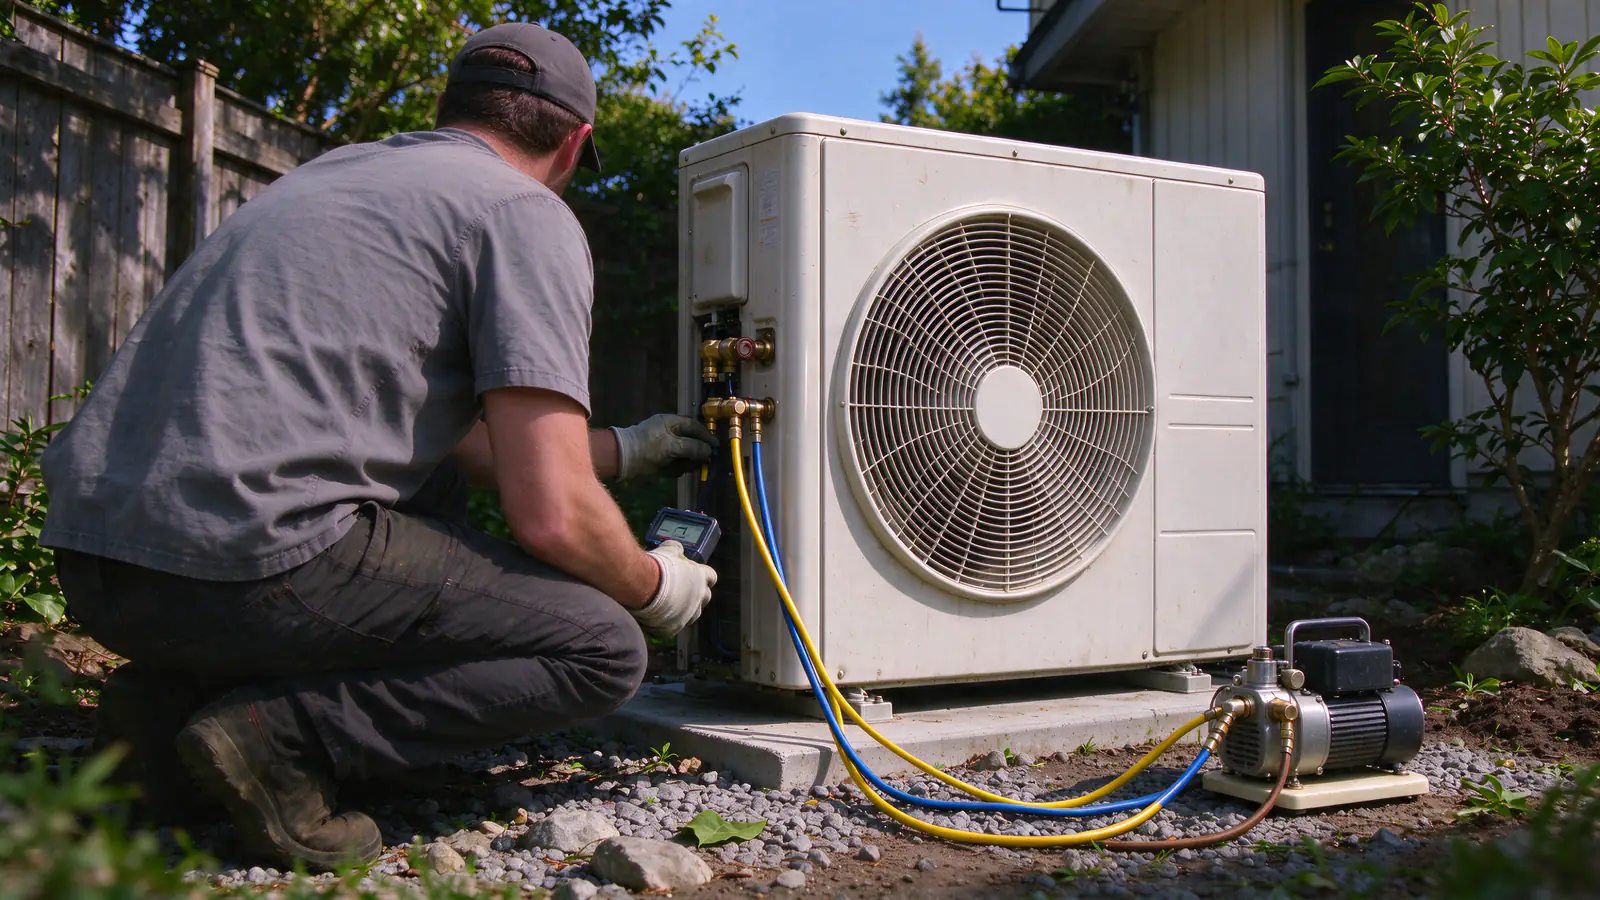
Most people have never watched a mini split go in, so it helps to know what’s coming. Here is how Firlands Portland Mini Splits runs a job in Portland and Vancouver, from your first call to the city’s final inspection, and what you have in hand at the end.
Step 1: the call and a rough range
You call or send the form, tell us which rooms you want to heat or cool, and send a few photos. We give you a rough range on the phone.
Useful photos are each room’s outside wall, the side and back yards, and the electrical panel with its door open. From those we can usually tell how many heads you’re looking at, where the outdoor unit could go, and whether the panel raises questions. The cost guide shows the typical ranges by job.
Step 2: the visit
On the visit we measure each room and look at everything that decides the price. It’s where a rough range becomes a plan.
What we look at
- Each room: size, windows, ceiling height, insulation above, and which way it faces. That’s what sizing is built on, not floor area alone.
- The head’s spot: which wall, where the hole goes, and whether the drain can run by gravity.
- The outdoor unit’s spot: setbacks, noise toward the neighbors, ice and drip lines (placement guide).
- The line-set route: the shortest clean path down the outside wall or through a closet.
- The panel: open spaces and capacity for a new circuit (electrical requirements).
- The house’s age: in a house built before 1978, we plan lead-safe dust containment.
Step 3: the written estimate
You get a written estimate that lists everything the job includes, so you can compare it line by line.
| The estimate lists | Why it matters |
|---|---|
| Each head, its type and capacity | So you know what’s going in each room |
| The outdoor unit and its capacity | Cold-climate model where the heads have to heat |
| The line-set route and line-hide | The main thing that changes labor |
| Each drain: gravity or pump | A pump adds cost and a part to maintain |
| The new circuit and any panel work | Panel upgrades are priced separately |
| Permits | City permit fees are included in the price |
| Price and exclusions | What’s in, and what isn’t |
Step 4: permits
Once you approve the estimate, we pull the permits. In Portland that’s a mechanical permit for the heat pump and an electrical permit for the circuit.
Gresham, Milwaukie, Lake Oswego and Vancouver issue their own permits, and Clackamas County handles the electrical side in Oregon City, West Linn and Happy Valley. The fees are part of your price. Mini split permits in Portland explains who issues what.
Step 5: install day
A single-zone install is usually one day on site. A system with three or four heads usually takes two to three days, depending on how the lines run through the house.
The order of work
- Protect the room. Drop cloths down, furniture moved back, dust contained.
- Mount the head’s wall plate and core the three-inch hole through the wall.
- Set the outdoor unit on its pad, stand or wall bracket.
- Run the line set, cable and drain through the wall and down in the line-hide.
- Make the flare connections at the head and the outdoor unit, to the manufacturer’s instructions.
- Wire the circuit from the panel to a disconnect beside the outdoor unit.
What can stretch the schedule
- A panel or service upgrade. It needs the utility to disconnect and reconnect the service, so it’s scheduled ahead of install day.
- Ceiling units. A cassette or ducted unit means work in the attic or ceiling and usually a pump.
- Long or multi-story runs. Lines that climb two floors or pass through a closet chase take longer than a straight drop.
- Old plaster and pre-1978 paint. Coring slowly and containing dust adds time, not much, but some.
Step 6: the tests
Before any refrigerant is released into the lines, every system gets the same tests. These are what separate a system that lasts from one that leaks.
Nitrogen pressure test
We fill the lines with dry nitrogen at pressure and watch the gauge. If the pressure holds, the joints are tight. If it drops, we find the leak before going further.
Vacuum below 500 microns
We pull the lines down with a vacuum pump and a micron gauge until they’re below 500 microns, then close the valve and watch that the reading holds. That removes the air and moisture that would otherwise shorten the compressor’s life.
Drain test
We pour water into every head’s pan and watch it come out the far end, gravity or pump (condensate drain guide).
Step 7: startup and handover
Then we open the valves, start the system and check that each head runs as it should.
At handover we show you the remote or wall control, how to wash the filters, and what to keep clear outside. You get the test readings on paper: the nitrogen pressure, the vacuum reading and the startup checks. If your job qualifies for an Energy Trust incentive, the contractor signs the application for you to send in (rebates guide).
Step 8: the final inspection
The city inspects the work after it’s in, and we close out the permits with that final inspection.
In Portland every mechanical permit needs its final inspection, and a permit lapses if 180 days pass between inspections, so we schedule it promptly. The electrical permit gets its own inspection. Once both pass, the job is closed. For one-room jobs, see single-zone installation; for several rooms, multi-zone installation.