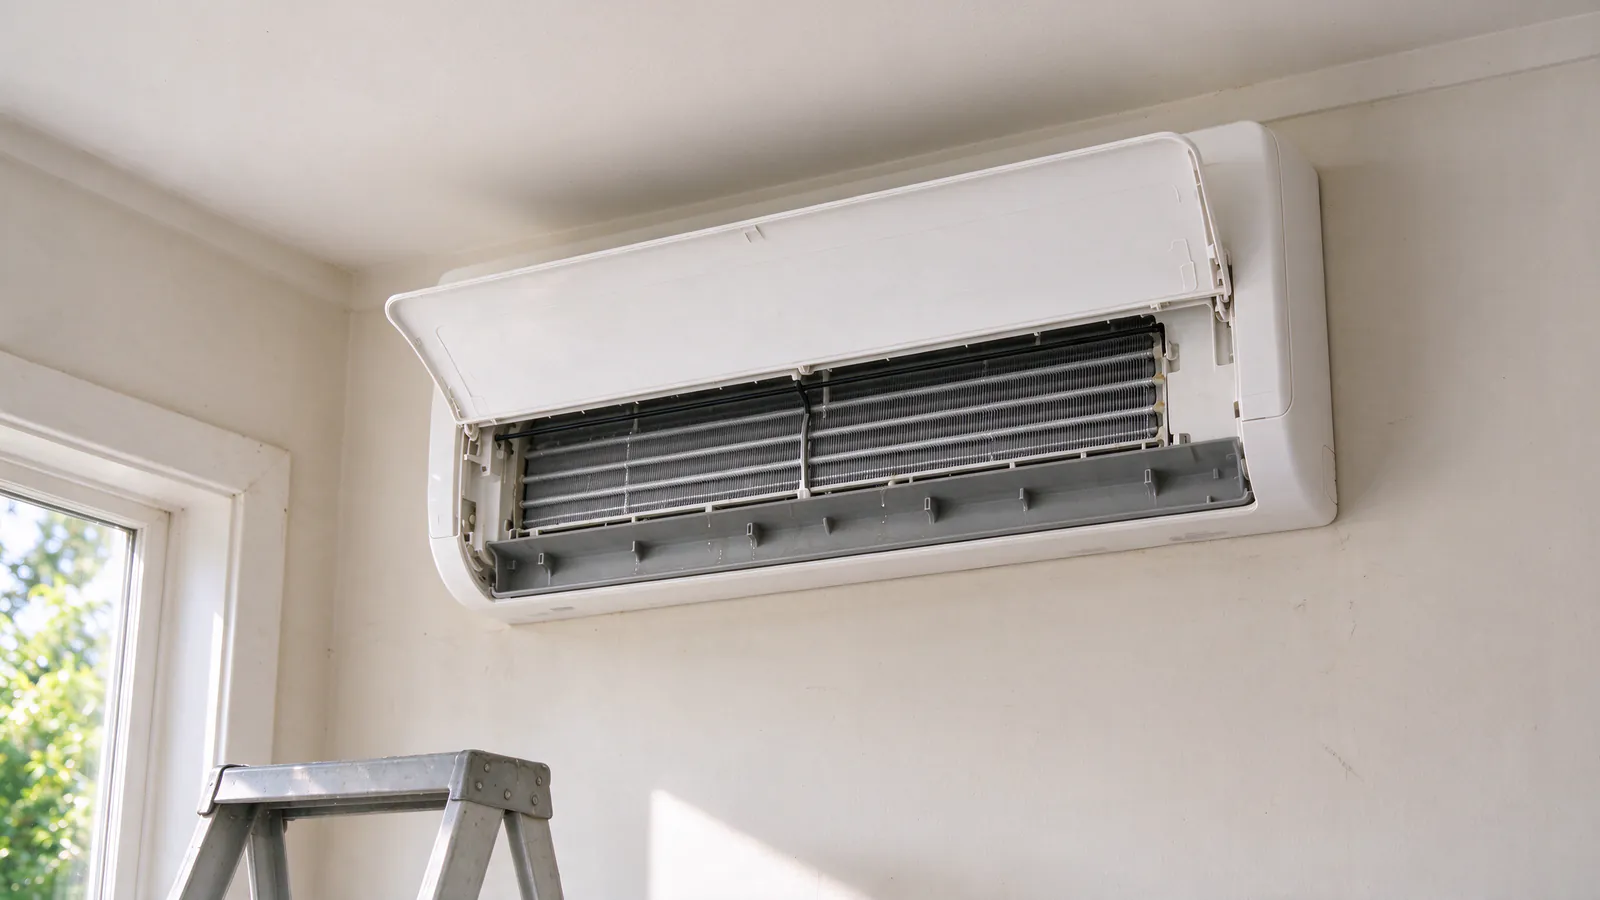
Water dripping onto the floor below the head, warm air in July, cool air in January, a blinking light and a code you can’t decode. Something is wrong, and you want it fixed without paying for parts it didn’t need.
Mini split repair starts with finding the cause, then fixing that. Firlands Portland Mini Splits tests the drain, the airflow, the refrigerant and the electrics before replacing anything, and gives you a written price first for anything beyond a simple fix.
What’s your mini split doing?
Most mini split trouble shows up as one of a handful of symptoms, and each has a short list of likely causes.
| What you see | Common causes |
|---|---|
| Water dripping from the head | Clogged drain, failed condensate pump, lost slope, very dirty filter |
| Ice on the indoor coil in cooling | Clogged filter, dirty blower wheel, low refrigerant |
| Cool air in heat mode | A defrost cycle, a sensor, low refrigerant, compressor trouble |
| Not cooling enough | Dirty filters or coil, low refrigerant, a fan problem |
| A blinking light or error code | Anything from a sensor to a communication fault between units |
| A rattle or buzz outside | Loose panels, a fan blade, a line set touching the wall |
One symptom can have several causes, which is why we test before buying parts. The condensate drain guide covers drain problems in depth.
Project
What a leaking-head repair in Concordia looks like
The problem
Water drips from the bottom of the bedroom head onto the floor on humid summer afternoons, and a stain is spreading on the hardwood below it.
The house
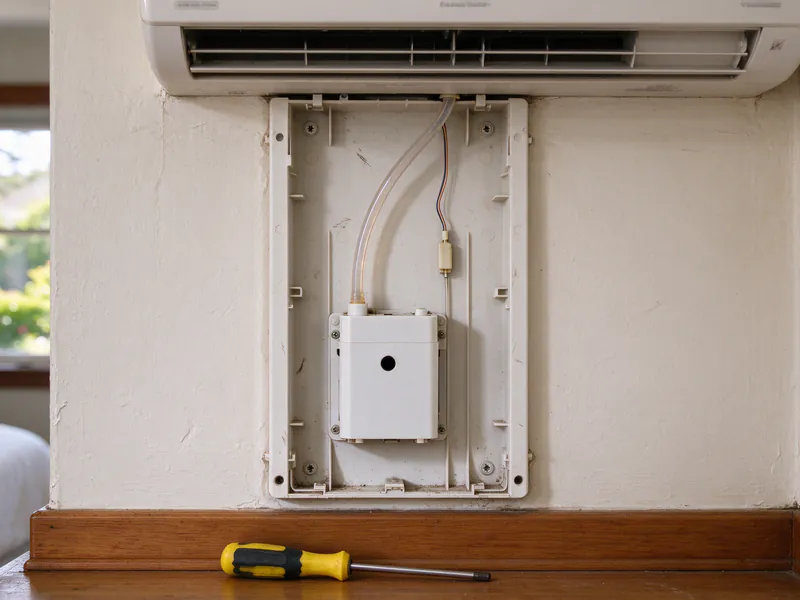
The head is on an inside wall, so its water can't fall outside on its own. A small condensate pump inside the line-hide lifts it up and out. The system is about six years old and cools well.
What we decide, and why
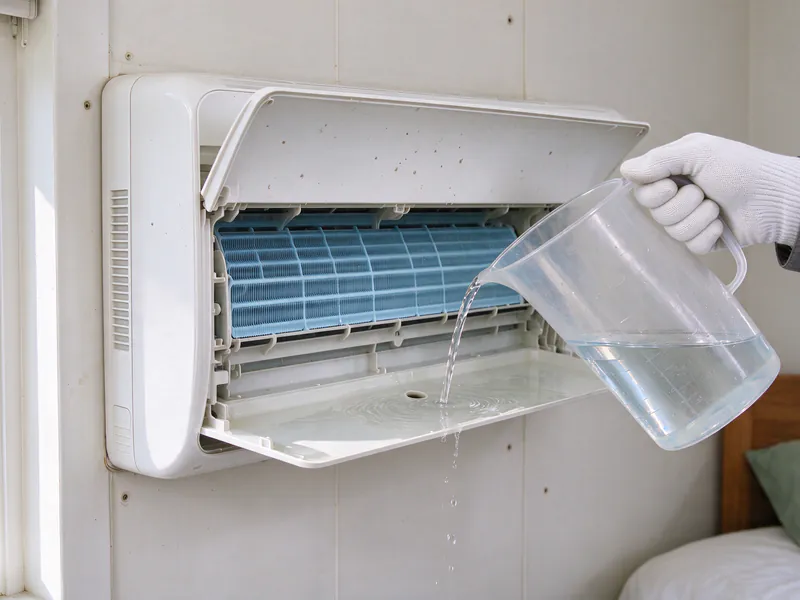
A drip from a head can be a dirty filter, an iced coil, a drain that has lost its slope or a pump that has quit, so we test before replacing anything. Pouring water into the head's drain pan shows the water backing up: the drain line is half blocked with slime, and the pump never starts. The pump's float switch was never wired to shut the head off, which is why the head kept making water with nowhere for it to go.
The work
We flush the drain line, clean the head's drain pan and outlet, and replace the pump. This time its float switch is wired so the head stops cooling if the pump ever fails again. We check the filters and the coil, then run the head in cooling and pour a quart of water into the pan to watch the pump lift it out.
The safety switch is the real repair. A pump will fail eventually; a wired switch means the next failure shows up as a head that stops cooling, not a wet floor.
What it changes
A dry floor, a drain that runs clear, and a head that shuts itself off before water can reach the room.
- Location
- Concordia, Northeast Portland
- House
- 1920s bungalow; one wall head in an upstairs bedroom on an inside wall
- Equipment
- Existing single-zone system; new condensate pump with its safety switch wired
- Price
- $465 for the visit, the pump and the drain cleaning
- Time on site
- One visit, about three hours
Things you can check before you call
A few minutes with the remote and the filters can save you a visit.
- The remote. Check the mode (heat, cool, dry, fan), the setpoint, and the batteries.
- The filters. Lift the front panel and slide them out. If they’re grey with dust, rinse them, let them dry and put them back.
- The breaker and disconnect. The outdoor unit has its own breaker and a disconnect beside it.
- The outdoor unit. Clear leaves, snow or ice away from the coil.
- Defrost. In heat mode the system pauses every so often to melt frost off the outdoor coil. Steam from the unit and a few minutes without heat are normal.
If it’s still wrong after that, note any code on the display and call us.
What happens on the diagnostic visit
We test the system in the mode that’s failing and work from the evidence, not a guess.
- Inside: any error codes, the filters, the coil and the blower wheel, and water poured into the drain pan to test the drain and any pump.
- Outside: the coil, the fan, the electrical connections and the capacitor.
- The system: its pressures and temperatures, read while it runs in the failing mode.
Once we know the cause, you get a price.
Firlands’ typical range for a diagnostic visit is $100 to $300. A simple fix, like a cleared drain, is often done on the same visit; anything bigger gets a written price first.
Water leaks and iced coils
These two often come together, and both usually trace back to water or air that can’t get where it needs to go.
Water from the head
Every head makes water in cooling. It has to fall outside through a drain, or be lifted out by a small pump. Slime in the drain line, a pump that quits, or a head that was never level makes the pan overflow.
The fix is to clear it, replace the pump if it’s failed, and wire its float switch so the head stops before water reaches the floor.
Ice on the coil
An iced indoor coil means it’s running colder than it should. Too little air across it, from a clogged filter or a dirty blower wheel, is the usual cause. Low refrigerant from a leak is the other. When the ice melts, it can overflow the pan too. A deep cleaning fixes the airflow side.
Refrigerant leaks
A mini split is sealed. If it’s low on refrigerant, it has a leak, and topping it up without finding the leak only buys time.
- Find it. We check the flares, the service valves and the coils with an electronic detector and bubble solution.
- Fix it. A bad flare is cut off and remade; a leaking coil or valve is replaced.
- Prove it. A nitrogen pressure test, then a vacuum below 500 microns, watched to make sure it holds.
- Charge it. Refrigerant added by weight for the system and its line length.
Firlands’ typical range for finding and fixing a leak and recharging is $300 to $1,500 and up. A flare that wasn’t made or torqued right at install is one place leaks start, which is why we pressure-test every line set we install. The installation process explains the test.
What repairs cost
Firlands’ typical range for most mini split repairs is $150 to $1,000; compressor and sealed-system work costs more.
| Repair | Typical range |
|---|---|
| Diagnostic visit | $100 to $300 |
| Common repairs: drain, pump, sensor, capacitor, fan motor, board | $150 to $1,000 |
| Refrigerant leak found, fixed and recharged | $300 to $1,500+ |
| Compressor replacement | $1,200 to $2,800+ |
Your price comes from the diagnosis, in writing, before the repair.
When repair stops making sense
A compressor on an older system, or a third recharge for the same leak, is usually where repair stops paying.
- A failed compressor. It typically costs $1,200 to $2,800 and up, a big share of a new system. On an older system we price a replacement alongside the repair so you can compare.
- A leak that keeps coming back. If the line set has failed before, a new line set and new equipment together may cost less over the next few years.
- A room that was never comfortable. The head may have been the wrong size from the start; a new single-zone system sized to the room may be the real fix.
- A system that only needs looking after. Cleaning and maintenance keeps the drain and the coil clear and catches small problems early.
- Heating that worries you in winter. Do mini splits work in cold weather? explains defrost and what’s normal on a freezing morning.
- A bigger electric bill. What a mini split does to your electric bill shows what’s normal, so you can tell whether something’s wrong.